How to Connect a Printer to Your Laptop or Desktop: A Comprehensive Guide
Connecting a printer to your computer might seem daunting at first, but it’s actually a straightforward process that anyone can master with the right guidance. Whether you’re setting up a basic home printer or a sophisticated office machine, understanding the connection methods and troubleshooting steps will save you time and frustration. This comprehensive guide walks you through every aspect of printer connectivity, from initial setup to advanced configuration options. By the end, you’ll be equipped to handle any printer connection scenario with confidence.
Understanding Your Printer Type
Before diving into the connection process, you need to identify what type of printer you’re working with. Modern printers typically fall into categories like inkjet, laser, all-in-one, or specialized models, such as a production printer designed for high-volume environments. Each printer type may have different connection capabilities and requirements that affect how you’ll set them up. Understanding these distinctions helps you choose the most appropriate connection method and anticipate any specific setup challenges you might encounter.
Gathering Necessary Equipment and Information
Success begins with proper preparation, so gather all the items you’ll need before starting the installation process. Your printer box should contain the device itself, power cables, USB cables (if applicable), installation CD or DVD, and a quick-start guide with essential setup information. Additionally, make sure you know your wireless network name and password if you’re planning a WiFi connection, as you’ll need these credentials during configuration. Having everything within reach prevents interruptions and makes the entire process flow more smoothly from start to finish.
Choosing Your Connection Method
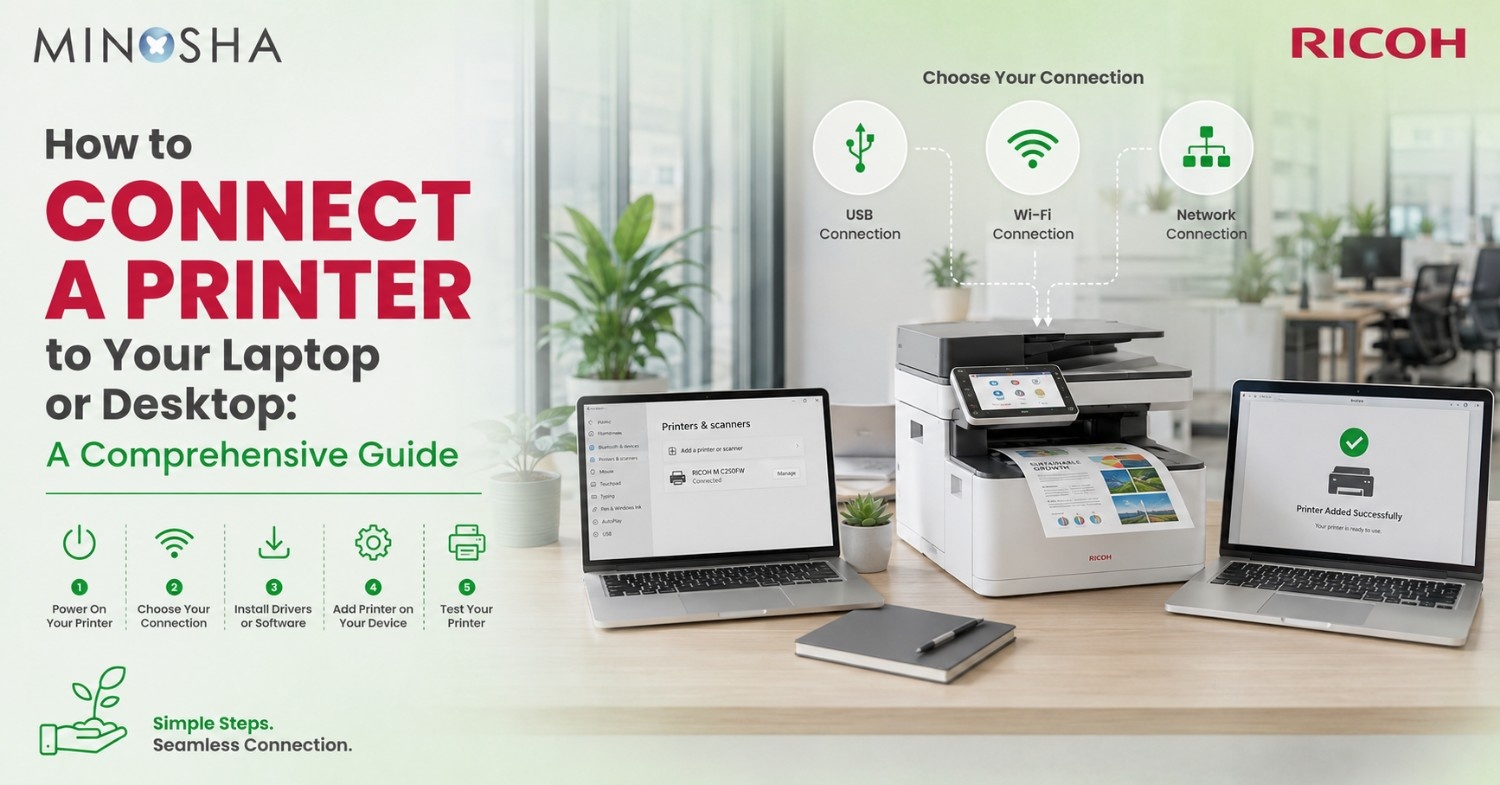
Printers can connect to computers through several different pathways, each with unique advantages and limitations. The most common methods include USB direct connection, wireless WiFi connection, Ethernet network connection, and Bluetooth pairing for compatible devices. USB connections offer reliability and simplicity, making them ideal for single-user setups where the printer sits close to the computer. Wireless connections provide flexibility and multi-device access, allowing multiple users throughout your home or office to print without physical cables cluttering your workspace.
Setting Up a USB Connection
USB connections represent the most straightforward method for linking your printer to a single computer. Start by positioning your printer near your laptop or desktop, ensuring the distance doesn’t exceed the length of your USB cable (typically three to six feet). Plug one end of the USB cable into the printer’s USB port, usually located on the back or side panel, then connect the other end to an available USB port on your computer. Power on the printer, and most modern operating systems will automatically detect the new hardware and begin installing the necessary drivers without requiring manual intervention.
Installing Printer Drivers
Drivers serve as the communication bridge between your computer’s operating system and the printer’s hardware functions. Windows 10, Windows 11, and macOS typically download and install basic drivers automatically when they detect a new printer connection. However, for full functionality and access to advanced features, you should install the manufacturer’s complete driver package from their official website or the included installation disc. Visit the manufacturer’s support page, enter your printer model number, select your operating system version, and download the latest driver software to ensure optimal performance and compatibility.
Configuring a Wireless WiFi Connection
Wireless printing liberates you from cable constraints and enables multiple devices to access the same printer throughout your space. Begin by ensuring your printer has WiFi capability—check for a wireless icon on the control panel or consult your user manual for confirmation. Navigate to the printer’s network settings menu using the built-in display screen, select your WiFi network from the available options, and enter your network password using the on-screen keyboard. Once connected, the printer will obtain an IP address from your router, making it discoverable to computers and mobile devices on the same network.
Adding a Wireless Printer in Windows
Windows makes adding wireless printers remarkably simple through its Settings interface and automatic device discovery features. Click the Start button, navigate to Settings, then select “Devices” followed by “Printers & Scanners” to access the printer management panel. Click “Add a printer or scanner,” and Windows will scan your network for available printing devices within range of your router. When your printer appears in the list, click on it, select “Add device,” and Windows will handle the driver installation and configuration automatically in most cases.
Adding a Wireless Printer on macOS
Mac computers offer an equally streamlined process for connecting to wireless printers through the System Preferences interface. Open System Preferences from your Dock or Apple menu, click on “Printers & Scanners,” then click the plus (+) button to add a new device. Your Mac will display all available printers on your network, showing their names, locations, and connection status in an easy-to-read list. Select your printer from this list, choose the appropriate driver from the “Use” dropdown menu, and click “Add” to complete the setup process.
Establishing an Ethernet Network Connection
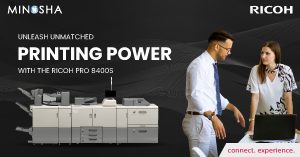
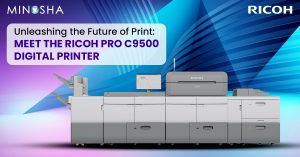
Ethernet connections provide the stability and speed that busy offices require, especially when dealing with high-volume printing tasks. Connect an Ethernet cable from your printer’s LAN port to an available port on your network router or switch, creating a wired pathway for data transmission. This method works exceptionally well for the best production printers that handle substantial workloads and need consistent, uninterrupted connectivity throughout the workday. Once physically connected, your printer will automatically obtain a network address and become accessible to all computers on the same local network.
Understanding IP Address Configuration
Every network printer requires a unique IP address that allows computers to locate and communicate with it across the network infrastructure. Most printers use DHCP (Dynamic Host Configuration Protocol) by default, meaning your router automatically assigns an IP address from its available pool. However, assigning a static IP address prevents conflicts and ensures the printer always appears at the same network location, which is particularly important for shared office environments. Access your printer’s network settings menu, disable DHCP, and manually enter an IP address that falls within your network’s range but doesn’t conflict with other devices.
Installing Printer Software and Utilities
Beyond basic drivers, manufacturers often provide comprehensive software packages that unlock advanced features and improve your printing experience significantly. These utility programs typically include scanning interfaces, ink level monitoring, print queue management, maintenance tools, and cloud printing capabilities that extend functionality beyond basic document output. Download the full software suite from the manufacturer’s website rather than relying solely on the basic drivers that Windows or macOS installs automatically. Installing these complete packages gives you access to features like duplex printing settings, color management profiles, and custom paper size configurations.
Setting Your Default Printer
Designating a default printer streamlines your workflow by automatically directing print jobs to your preferred device without requiring manual selection each time. In Windows, return to Settings > Devices > Printers & Scanners, click on your desired printer, and select “Manage” followed by “Set as default” to establish it as your primary output device. On macOS, open System Preferences > Printers & Scanners, right-click (or Control-click) on your preferred printer, and select “Set Default Printer” from the contextual menu. This simple configuration saves time and reduces printing errors caused by accidentally sending documents to the wrong device.
Testing Your Printer Connection
After completing the installation process, printing a test page confirms that everything is working correctly and communication is flowing smoothly between devices. Most printer properties windows include a “Print Test Page” button that sends a standardized document containing text, graphics, and color patterns to verify proper function. This test reveals potential issues with alignment, color accuracy, or connectivity before you attempt to print important documents. If the test page prints successfully with crisp text and accurate colors, your printer is properly connected and ready for regular use.
Troubleshooting Connection Issues
Even with careful setup, you might encounter connection problems that prevent your printer from communicating with your computer properly. Common issues include outdated drivers, firewall settings blocking printer communication, incorrect network configurations, or simple power connectivity problems that have easy solutions. Start troubleshooting by verifying all physical connections, ensuring the printer is powered on, and checking that your computer and printer are on the same network if using wireless connectivity. Running the built-in Windows Printer Troubleshooter or resetting your printer’s network settings often resolves mysterious connection failures that resist obvious solutions.
Configuring Advanced Printer Settings
Once your basic connection is established, exploring advanced settings allows you to customize printing behavior to match your specific needs and preferences. Access these options through the printer properties dialog, where you’ll find settings for print quality, paper type selection, color management, duplex printing preferences, and page layout configurations. Adjusting these settings optimizes output quality for different document types—use draft mode for internal memos to save ink, high-quality mode for client presentations, and specific paper settings that match your loaded media. Creating custom printing profiles for frequently used configurations saves time and ensures consistency across similar print jobs.
Setting Up Mobile Printing
Modern printers support mobile printing protocols that let smartphones and tablets send documents directly to the printer without requiring a computer intermediary. Technologies like Apple AirPrint, Google Cloud Print (now deprecated but replaced by native Android printing), and manufacturer-specific apps enable printing from mobile devices with minimal setup effort. Ensure your printer and mobile device connect to the same WiFi network, install any necessary mobile apps from your printer manufacturer, and configure the printer within your device’s printing settings. This capability proves invaluable when you need to print emails, photos, or documents directly from your phone during meetings or while traveling.
Managing Multiple Printers
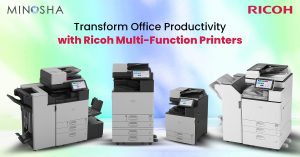
Offices and power users often maintain several printers for different purposes—one for high-volume documents, another for photo printing, perhaps Ricoh production printers for specialized commercial output. Managing multiple devices requires organization to prevent confusion and ensure each print job reaches the appropriate destination based on its requirements. Name your printers descriptively (like “Office Color Laser” or “Photo Printer”) rather than accepting generic model numbers that all look similar in print dialogs. Creating printer groups or using print management software helps route jobs efficiently and maintain an overview of all connected devices and their current status.
Maintaining Your Printer Connection
Ongoing maintenance ensures your printer connection remains stable and reliable over months and years of regular use. Keep printer firmware updated by checking the manufacturer’s website periodically for new releases that fix bugs and add features. Update printer drivers on your computer when your operating system releases major updates, as compatibility issues sometimes emerge with new OS versions. Clean physical ports and connections occasionally to prevent dust accumulation that can interfere with signal transmission, and document your network settings so you can quickly reconfigure after power outages or network changes.
Security Considerations for Network Printers
Network-connected printers represent potential security vulnerabilities if not properly configured and protected from unauthorized access attempts. Change default administrator passwords on your printer’s web interface to prevent hackers from accessing settings and potentially intercepting sensitive documents. Enable encryption protocols for wireless connections (WPA2 or WPA3) to prevent eavesdropping on data transmitted between your computer and printer. Regularly review your printer’s access logs if available, disable unused protocols like telnet or FTP, and place printers behind your network firewall rather than exposing them directly to the internet.
Understanding Cloud Printing Services
Cloud printing services enable document output from anywhere in the world, routing print jobs through internet servers to printers registered with cloud platforms. Services like HP Smart, Epson Connect, and manufacturer-specific cloud platforms let you print from coffee shops, airports, or remote offices to printers in your home or main office location. Set up these services by creating an account with your printer manufacturer, registering your printer through its control panel or web interface, and installing companion apps on devices from which you want to print. This technology particularly benefits remote workers who need occasional access to office printers without maintaining VPN connections or complex network configurations.
Optimizing Print Quality and Performance
Achieving optimal print quality requires balancing various settings that affect both output appearance and printing speed for different document types. Access quality settings through your printer preferences, where you’ll find options ranging from draft or economy mode through normal, high quality, and best or maximum quality settings. Higher quality settings use more ink and print more slowly but produce sharper text, smoother color gradations, and more accurate photo reproduction. Match your quality selection to document importance—use economy mode for draft reviews, normal for everyday correspondence, and maximum quality only for final presentations and client deliverables.
Sharing Printers Across Networks
Printer sharing allows multiple computers to access a single printer without each device requiring a direct connection to the hardware itself. Windows supports printer sharing through its network sharing features—enable sharing in the printer properties, set appropriate permissions, and other network computers can add the shared printer using its network path. This approach works well for small offices where a dedicated print server isn’t justified but multiple users need access to the same printing resources. Alternatively, printers with built-in network interfaces support direct connections from multiple computers without requiring one machine to remain powered on as a print server.
Dealing with Driver Conflicts and Errors
Driver conflicts occur when multiple versions of printer software compete for control or when corrupted driver files interfere with normal printing operations. Symptoms include print jobs getting stuck in the queue, error messages appearing during printing attempts, or computers freezing when sending documents to the printer. Resolve these issues by completely uninstalling all printer-related software, restarting your computer, and performing a clean installation of the latest drivers from the manufacturer’s website. Use Windows Device Manager or macOS System Information to verify that no outdated or duplicate printer entries remain after uninstallation, which could continue causing conflicts.
Conclusion
Connecting a printer to your laptop or desktop transforms from a mysterious technical challenge into a manageable task once you understand the available methods and follow systematic setup procedures. Whether you choose USB simplicity, wireless flexibility, or network reliability, each connection method serves different needs and scenarios that match various working environments. The knowledge you’ve gained here empowers you to troubleshoot problems independently, optimize settings for better performance, and maintain stable connections that serve your printing needs reliably. With these skills mastered, you can confidently set up any printer, from basic home models to sophisticated office equipment, ensuring smooth operation and productive output for years to come.