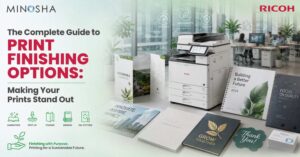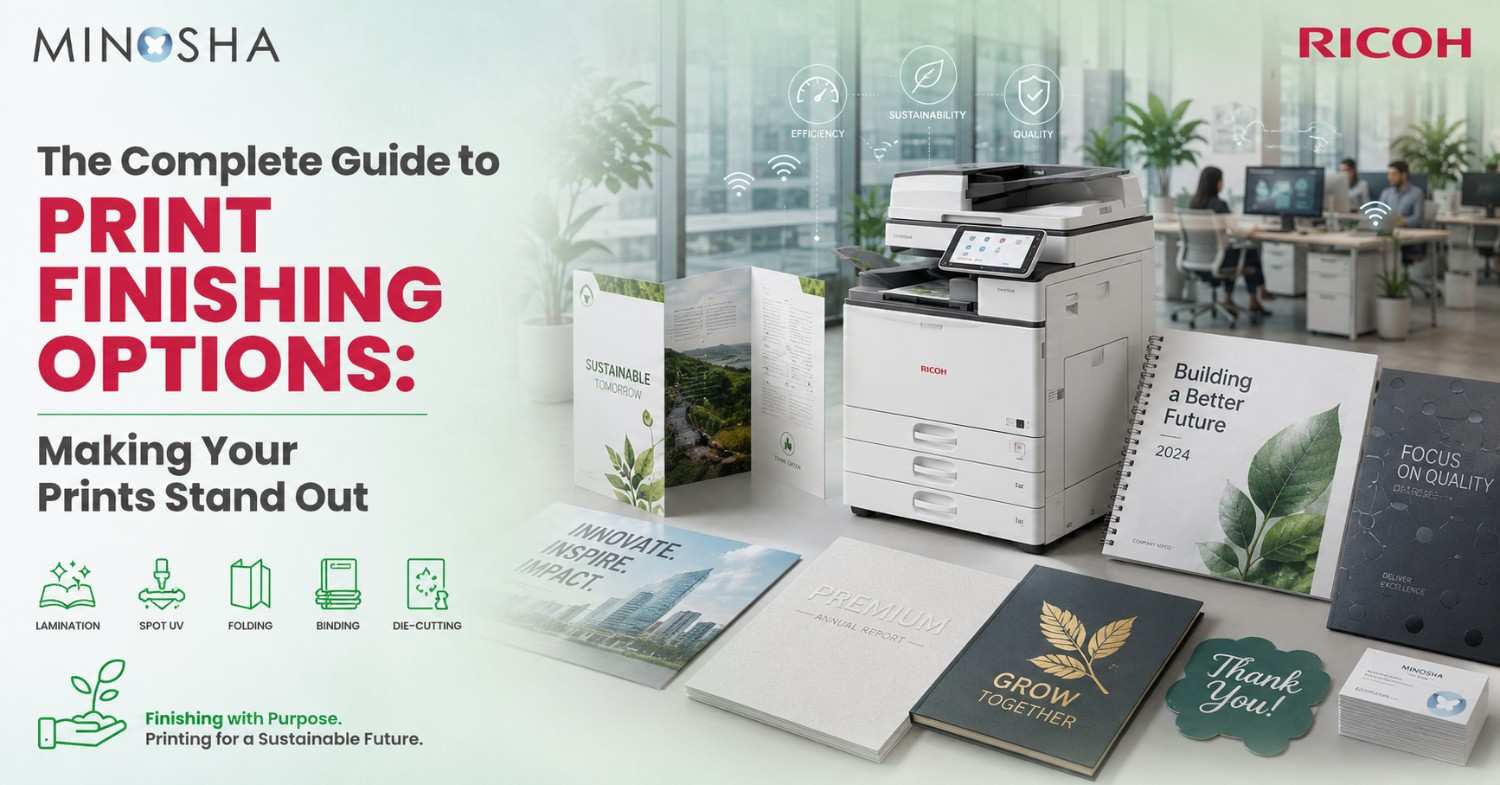
The Complete Guide to Print Finishing Options: Making Your Prints Stand Out
Print finishing makes the difference between basic printed pages and materials that grab attention. You’ve probably held a business card with rounded corners or a brochure with a glossy cover. These special touches happen after printing, transforming simple paper into professional marketing tools. The right finishing option can make your printed materials more durable, easier to use, and much more memorable.
Your choice of finishing depends on what you’re creating and who will use it. A restaurant menu needs protection from spills. Wedding invitations should feel luxurious. Product catalogs must survive repeated handling. Every finishing technique serves a purpose, whether practical or decorative. This guide walks you through the most popular options so you can choose what works best for your project.
Cutting and Trimming: Getting the Perfect Shape
Every printed piece needs trimming after it comes off the production printer. Printers add extra space around the edges, called bleed areas. These margins get removed to create the final size you want. Simple straight cuts work for most projects, but custom shapes add personality and make your materials memorable.
Think about business cards with rounded corners instead of sharp ones. They feel more modern and won’t get dog-eared in wallets. Die cutting creates custom shapes like circles, stars, or your company logo. You can even cut windows into folders so the page inside shows through. These special cuts turn ordinary prints into eye-catching pieces that people actually want to keep.
Binding Methods: Holding Everything Together
Binding keeps your multi-page documents organized and easy to read. Saddle stitching uses staples along the spine and works great for magazines, booklets, and programs. It’s affordable and lets pages lie flat when opened. Perfect binding creates that square spine you see on paperback books, giving thicker documents a polished, professional appearance.
Spiral and comb binding let documents open completely flat, making them perfect for cookbooks, manuals, and workbooks. Wire-o binding looks sleeker than plastic combs and comes in different colors to match your design. Case binding creates hardcover books that last for years. Each binding method affects how people use your document, so choose based on page count, durability needs, and budget.
Lamination: Protection That Lasts
Lamination seals your prints between layers of plastic film. This protective coating keeps colors bright even after months of handling. Menus, maps, and reference cards all benefit from lamination because they get touched constantly. The plastic shields against moisture, dirt, fingerprints, and tears that would otherwise ruin unprotected paper.
You can choose between glossy lamination that makes colors pop or matte lamination that reduces glare. Glossy works wonderfully for vibrant photos and colorful designs. Matte creates an elegant, sophisticated look and feels softer to the touch. Some businesses use lamination on just the covers of their reports while leaving inside pages uncoated. This saves money while still protecting the parts that get handled most.
Folding: Creating Compact, Organized Designs
Folding turns large sheets into compact pieces that fit easily into envelopes or display racks. The classic tri-fold divides your page into three panels, perfect for brochures that people can slip into their pockets. Z-folds create an accordion effect that reveals information panel by panel. Half-folds work well for greeting cards and simple programs.
Different fold styles change how readers experience your content. Gate folds open like double doors, building anticipation before revealing the center message. Roll folds create multiple panels that stack together, giving you lots of space for detailed information. Parallel folds keep all panels the same size, making your layout easier to design. Using output from the best production printers combined with precise folding creates professional pieces that make strong impressions.
Scoring and Perforation: Making Paper Easy to Fold and Tear
Scoring creates an indent line that helps thick paper fold cleanly without cracking. Heavy cardstock fights back when you try folding it. A score line gives the paper a predetermined breaking point. This technique prevents ugly creases and keeps your folds looking sharp and professional.
Perforation makes controlled tearing easy and neat. Those tiny dotted lines you see on tickets, coupons, and reply cards are perforations. They let people remove sections without scissors while keeping the rest intact. Business reply cards attached to brochures use perforation. Numbered tickets for events need perforation. This finishing option combines functionality with convenience in one simple step.
Coating Options: Adding Shine or Subtle Elegance
Ricoh production printers and other quality machines produce beautiful prints, but coatings add extra visual impact. Varnish creates a clear protective layer that enhances colors underneath. You can apply it to the entire piece or just specific areas like photos or headlines. Spot varnish on a matte background creates contrast that draws eyes exactly where you want them.
UV coating provides the shiniest, most durable finish available. It resists scratches better than regular varnish and dries instantly under ultraviolet light. Aqueous coating offers an environmentally friendly alternative with a softer sheen. Both protect your prints from scuffing and fading. The coating you choose affects how people perceive your brand, with glossy suggesting energy and vibrancy while matte conveys sophistication and restraint.
Foil Stamping: Metallic Accents That Demand Attention
Foil stamping presses thin metallic foil onto paper using heat and pressure. Gold foil on wedding invitations screams luxury. Silver foil on business cards catches light and draws attention. This technique works on specific design elements rather than covering entire surfaces. Logos, borders, and text get the foil treatment most often.
The foil comes in dozens of colors beyond gold and silver. Rose gold offers modern elegance. Holographic foils create rainbow effects that shift when moved. Even matte metallic foils exist for subtle sophistication. Foil stamping costs more than regular printing, but the impact justifies the investment for special projects. Certificates, premium packaging, and high-end promotional materials all benefit from this eye-catching finish.
Embossing and Debossing: Adding Dimension and Texture
Embossing raises portions of your design above the paper surface. Running your fingers across embossed text or graphics creates a tactile experience that flat printing cannot match. Business cards with embossed logos feel more substantial and professional. Debossing does the opposite, pressing designs into the paper to create recessed areas that add subtle depth.
Both techniques can work with or without ink or foil. Blind embossing creates raised areas that match the paper color for an understated, elegant effect. Combining embossing with foil stamping creates maximum impact. The dimensional quality makes your materials literally stand out. Premium brands use these techniques to communicate quality and attention to detail through touch as well as sight.
Detailed Binding Options Explained
Different projects need different binding solutions. Here’s what works best for various situations:
- Saddle Stitching: Uses two or three staples through the fold of nested pages. Best for booklets with 60 pages or fewer. Magazines, programs, and newsletters commonly use this method. It’s economical and allows pages to lie nearly flat when opened.
- Perfect Binding: Glues pages together at the spine and wraps them in a cover. Creates the square spine you see on paperback books and thick catalogs. Works for documents from 28 pages up to several hundred pages. Professional appearance at reasonable cost.
- Spiral Binding: Threads plastic or metal coils through holes punched along one edge. Pages can rotate 360 degrees and lay completely flat. Ideal for manuals, cookbooks, and workbooks that people reference while working. Available in various colors to match your design.
- Comb Binding: Uses plastic combs with curved teeth that snap into rectangular holes. Similar benefits to spiral binding but easier to open and remove pages if needed. Less durable than spiral for heavily used documents. Better suited for reports and proposals.
- Wire-O Binding: Double loop wire threaded through rectangular holes. More professional looking than plastic comb binding. Lies flat and allows 360-degree page rotation. Great for calendars, journals, and presentation books. Metal wire comes in black, white, silver, and colors.
- Case Binding: Creates traditional hardcover books with pages sewn together in signatures. Most durable and prestigious binding method. Used for annual reports, coffee table books, and commemorations. Highest cost but longest lifespan.
- Tape Binding: Applies cloth or vinyl tape over the spine edge with heat. Quick and clean appearance for reports and proposals. Less permanent than other methods. Works well when you need professional results fast.
Die Cutting: Creating Custom Shapes and Features
Die cutting uses sharp steel blades shaped into custom patterns. These blades cut through paper to create shapes impossible with straight cuts. Hang tags with holes at the top use die cutting. Pocket folders with business card slits need this technique. The possibilities extend far beyond basic rectangles and squares.
Creative die cuts make your materials interactive and memorable. Pop-up elements in greeting cards require precise die cutting. Packaging that unfolds into unique shapes uses this method. Window cutouts that reveal images or text underneath add visual interest. While die cutting costs more than straight cutting, the creative freedom it provides often makes the investment worthwhile for special projects.
Drilling and Punching: Functional Holes That Serve a Purpose
Drilling creates neat holes through thick stacks of paper. These holes let you store documents in ring binders or hang materials on hooks. Three-ring binders require precisely spaced holes that drilling provides. Presentation materials and training manuals often need these holes for organization and easy reference.
Corner punching rounds off sharp edges for safety and style. Slot punching creates rectangular openings for hanging or inserting tabs. Punch patterns can match specific filing systems your organization uses. This finishing option focuses on function, making printed materials work within existing organizational systems. The clean holes look more professional than hand-punching and ensure consistent placement across all copies.
Choosing the Right Finish for Your Project
Consider your budget, timeline, and goals before selecting finishing options. Premium finishes like foil stamping and embossing cost more but create lasting impressions. Simple folding and trimming keep costs down while still looking professional. Think about who will handle your materials and how long they need to last.
Start by defining what you want your printed piece to accomplish. Business cards should feel substantial and memorable. Brochures need to present information clearly while surviving distribution. Packaging must protect contents and stand out on shelves. Match your finishing choices to these functional and aesthetic requirements. Test samples, when possible, to see how different finishes look and feel before committing to full production runs.
Conclusion: Finishing Touches That Make the Difference
Print finishing transforms basic printed sheets into powerful marketing and communication tools. The options range from simple and affordable to elaborate and premium-priced. Every choice you make about cutting, binding, coating, or embellishing affects how people perceive and interact with your materials. Understanding these options empowers you to create prints that achieve your specific goals.
Don’t settle for basic when finishing options can elevate your project. Experiment with combinations like matte lamination with spot UV coating or die-cut shapes with foil accents. Quality finishing shows you care about details and value your audience’s experience. Whether you’re creating business cards, brochures, catalogs, or packaging, the right finishing techniques turn good prints into great ones that people notice, appreciate, and remember.